Managing Documents in Fazcon Cloud Storage
Keep your PDFs, Word files, presentations, and scanned papers organized, safe, and accessible anytime with Fazcon Cloud Storage. Here's how to master document management.
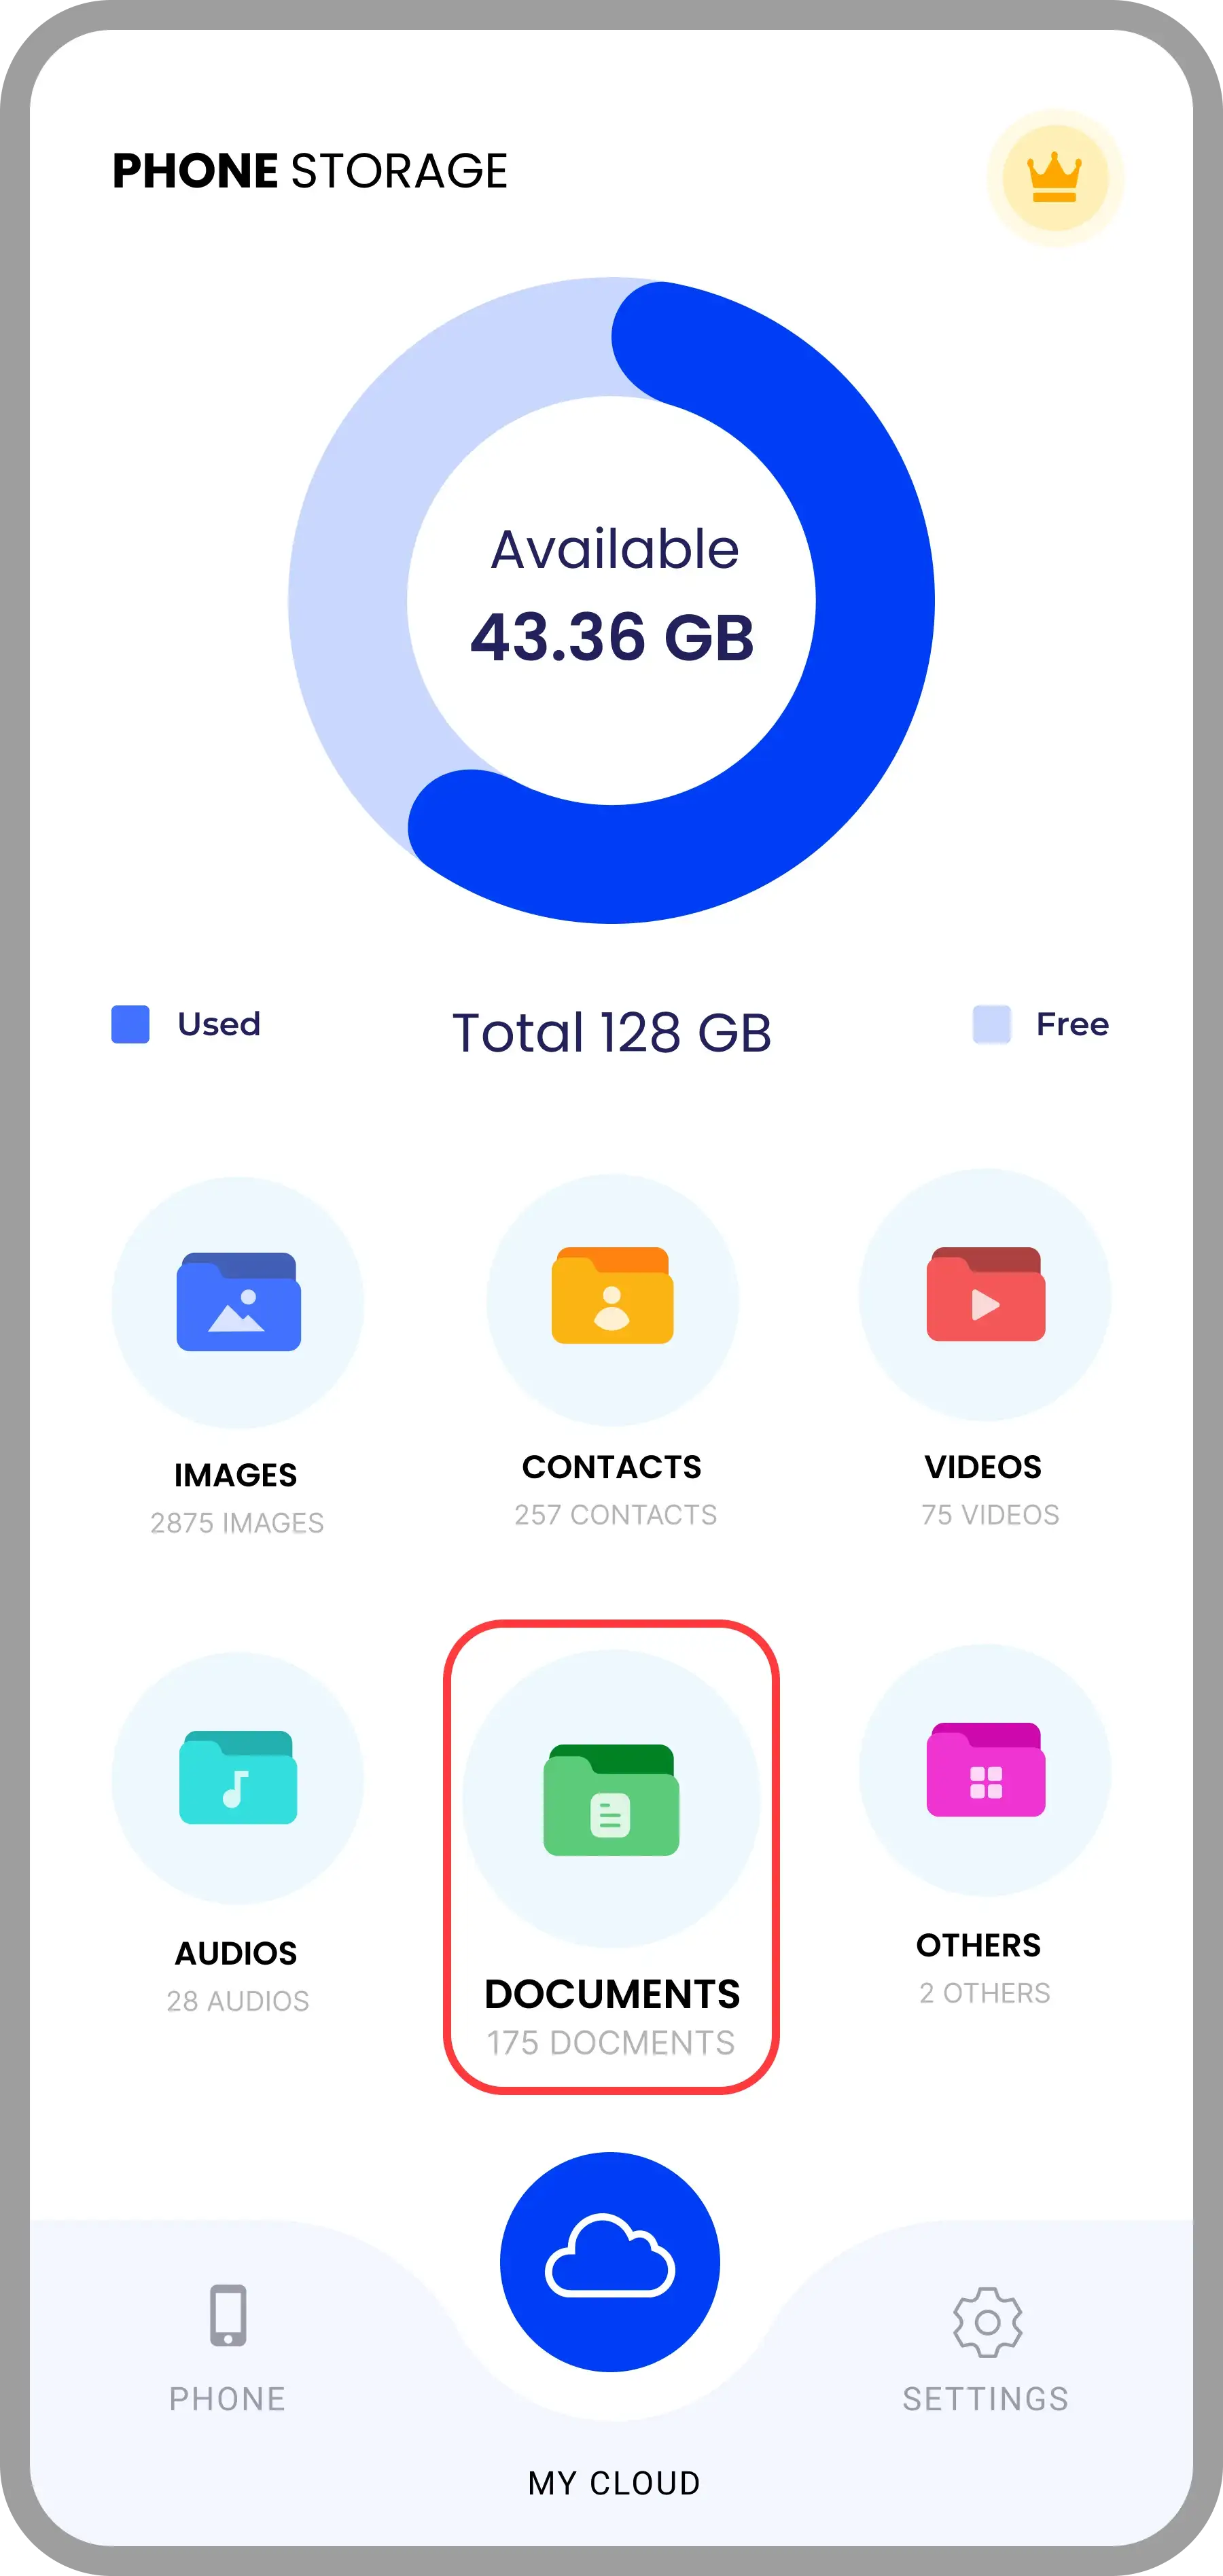
📄 Uploading Your Documents
- Launch the Fazcon Cloud Storage app on your device.
- Navigate to the Documents section from the main dashboard.
- Select one or more document files (e.g., PDF, DOCX, XLSX, PPTX, TXT) from your device storage.
- Tap the “Backup” button to start the upload process.
- You will be taken to an Upload Progress screen that shows the real-time status of each document being uploaded.
- Wait until all selected files are successfully uploaded — a confirmation message will appear once the process is complete.
- Tap “OK” to return to the document selection screen, where you can upload more files if needed.

📥 Restoring Your Documents from Cloud
- Open the Fazcon Cloud Storage app on your device.
- Tap the My Cloud button located at the bottom navigation bar (with the cloud icon).
- Inside the cloud section, navigate to the Documents category.
- Here you’ll see all your previously uploaded document files in the cloud.
- Select one or multiple document files you wish to restore.
- After selecting, tap the Restore button located at the bottom of the screen. The selected items will begin downloading to your device, and once successfully restored, they will be removed from your Fazcon Cloud Storage to free up cloud space.
- The app will begin the restoration process, showing a real-time progress indicator for each file.
- Once complete, tap OK to return to the cloud view — where you can select and restore more files if needed.
📩 Still Need Help?
If you need assistance with the compression tool or your subscription, tap the Support tab in the app or email us at info@fazcon.com.au. info@fazcon.com.au.